
Custom Groups
You can use Custom User Groups to associate users with each other. You can think of them like workgroups that have users from different locations and/or workgroups. An example of how you might use them is to group together all users from Sales departments who are in different locations.
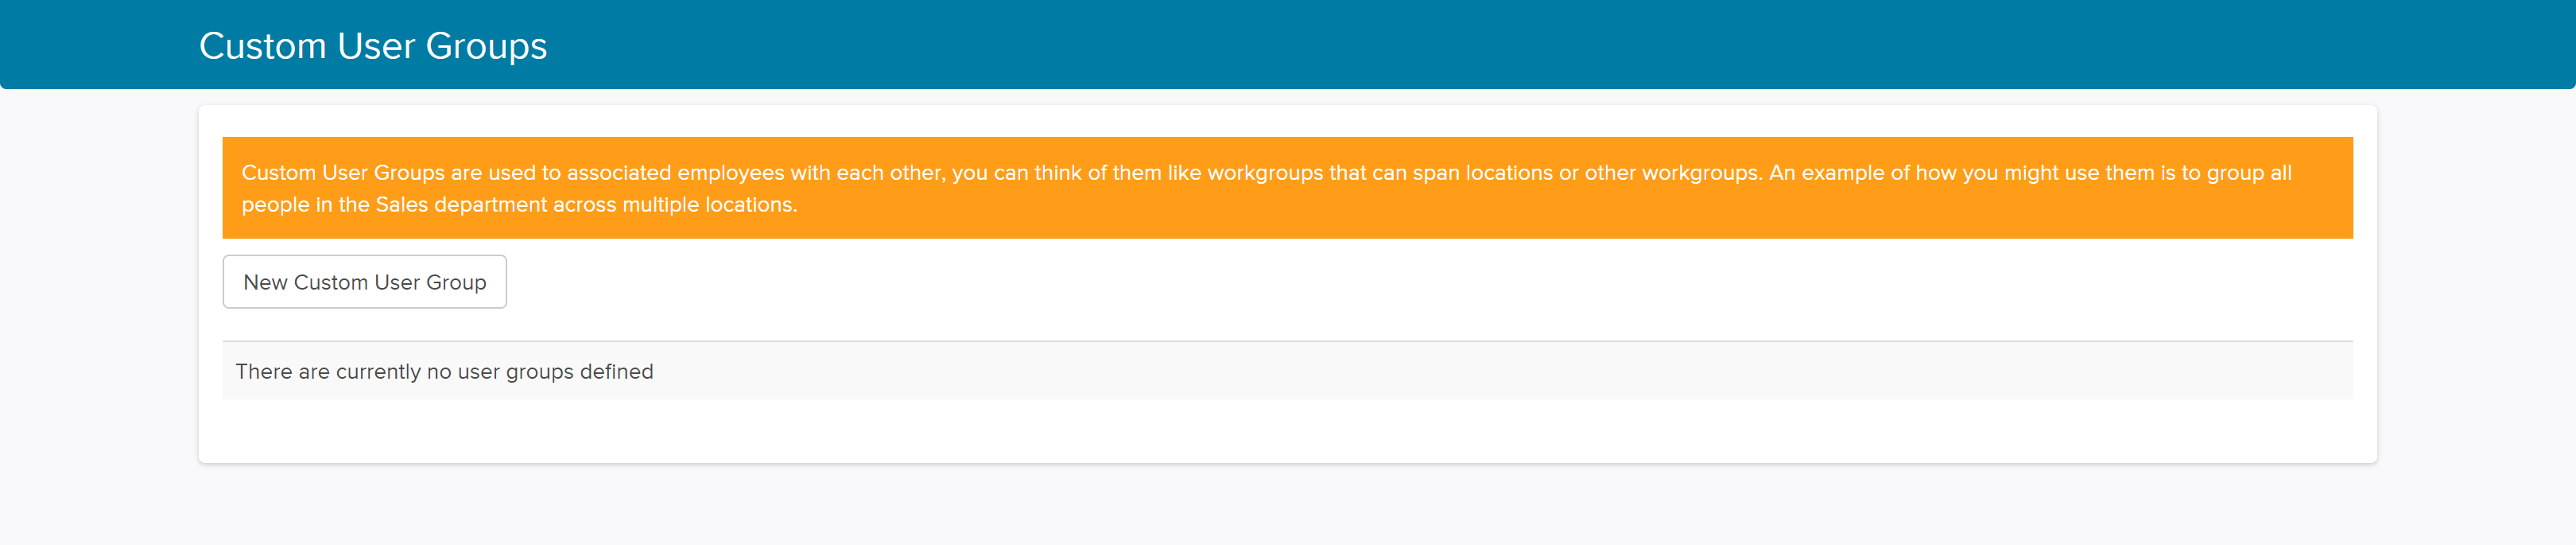
Creating and managing custom user groups is available to administrators from ‘Configuration’ on the main menu. Select the ‘Custom Groups’ sub menu. If you have none defined, you can create a new group by clicking the ‘New Custom User Group’.

The ‘Custom User Groups Details’ page has four sections. We will now examine each section and its associated settings to allow you to configure the Custom Group correctly from the page. As you will see, you can add all the members of a workgroup or individual users as required to create whatever user group you need.
Group Name
This is a required field which allows you to enter a name for the user group.
Workgroups
This section has two scrolling panes listing available workgroups and a vertical navigation bar between them. To add all the members of a workgroup to the group, select a workgroup in the left-hand pane and then click the right arrow to move it to the right-hand pane. Alternately, to remove a workgroup from the group, select a workgroup in the right-hand pane and move it to the left-hand pane by clicking the left arrow. Clicking the double left or double right arrow moves all the entries from one pane to the other. Tip! You can also use ‘Ctrl-click’ to select multiple workgroups at the same time.
Employees
This section works similarly to the Workgroups section. except it is used to select individual employees.
Submit / Cancel
These buttons allow you to either submit or cancel the entries you have made and return to the ‘Custom User Groups’ page.
When you have added all the members of the group, press ‘Submit’ and it will create the new Custom Group.

Once you have created at least one Custom Group, you will then have the option to edit or delete groups. Clicking the ‘Delete’ button will delete the group listed in that row. Clicking the ‘Edit’ button will take you to the Custom User Groups Details page for the group listed in that row.
